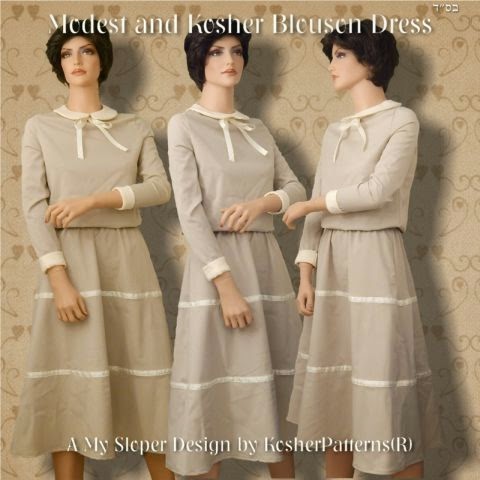
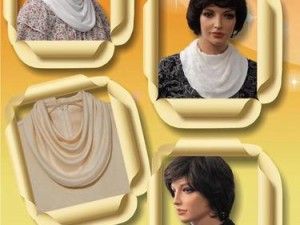
Here is a tutorial for how to create the blousing effect for a dress in My Sloper. Like the Blouson top, to create the blousing effect, you need to make the waist girth plus ease measurement equal to the chest girth plus ease measurement. A little mathematics is all we need to generate this pattern. Here is a tutorial to show you how.
Some Mathematics
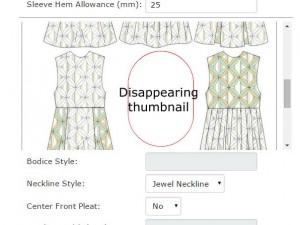
To compute the correct waist ease, add the Chest Girth and Chest Ease together. Then subtract from it the Waist Girth. The result is entered into the Waist Ease. For example, in this pattern, the Chest Girth is 63 and the Waist Girth is 54. Add the Chest Ease (10) to the Chest Girth (63) to produce 73. Then deduct the Waist Girth (54) from 73 to product 19. Enter 19 in the Waist Ease form text box.
Dress Options
In My Sloper, you can create blousing effects using any one of the Waisted Bodice Styles.
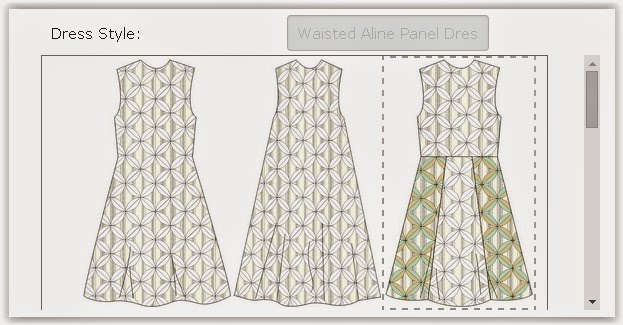 |
| Waisted Aline Panel Bodice |
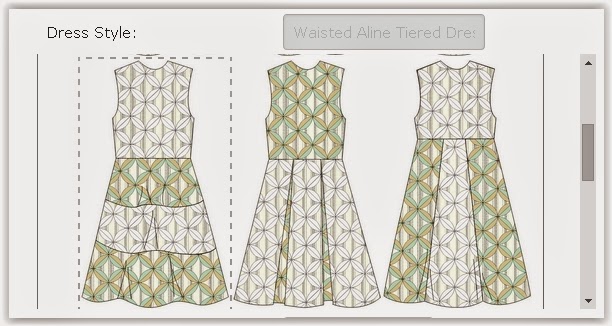 |
| Waisted Aline Tiered Bodice |
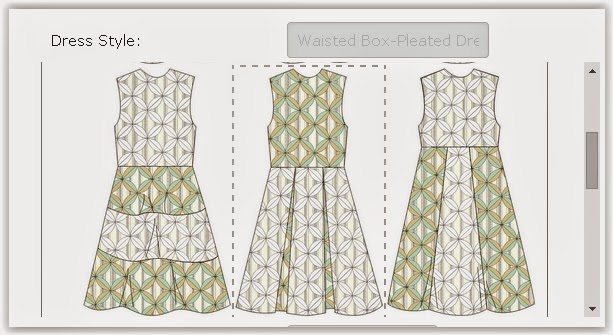 |
| Waisted Aline Pleated Bodice |
Add the Blousing effect by extending the waistline down. The bigger the extension, the more pronounced is the blousing effect. For example, we can enter 5-cm (~ 2-in) or more in the Waist Line Extension box.
Front & Back Upper Bodice Patterns
Assuming you select a Back Zipper opening for your upper bodice pattern, you may have the following patterns for your front and back.
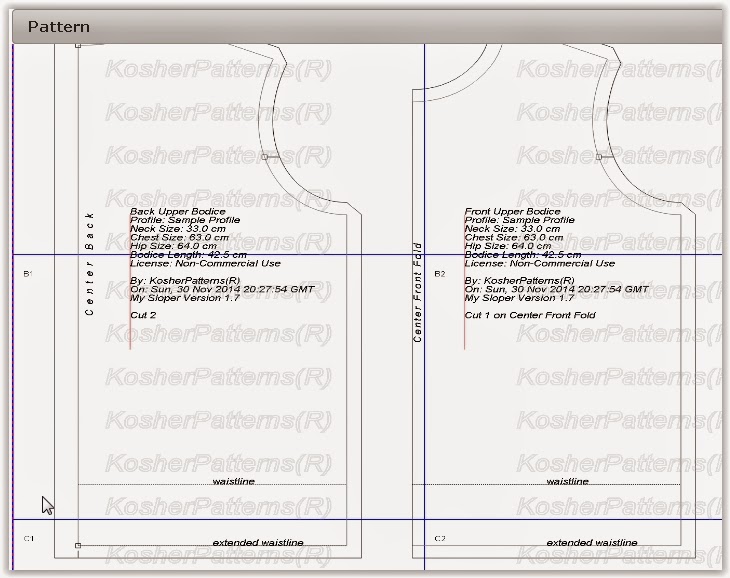 |
| Front & Back Upper Bodice |
Lower Skirt Pattern
You can choose from a panel, tiered or pleat skirt pattern for you dress. In the model for this article, we chose a 3-Tiered skirt pattern. The skirt pattern looks as follows.
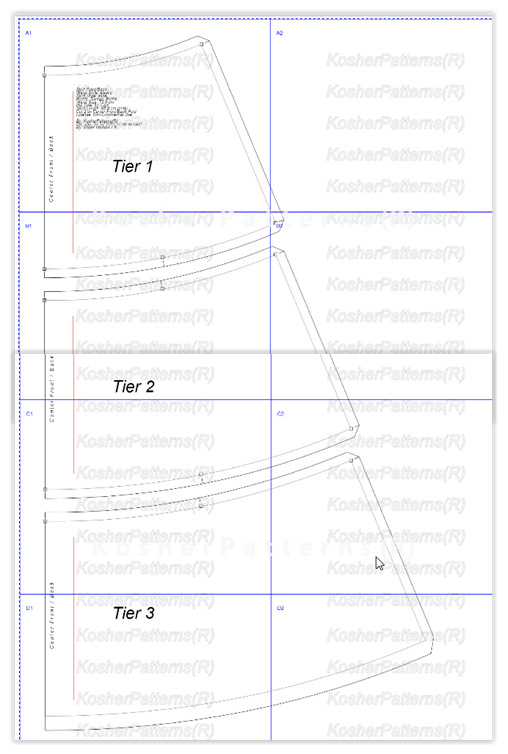 |
| Tiered Skirt Pattern |
Get My Sloper Software now. It’s so easy to create modest and kosher styles for everyday or formal wear!
