 |
| Flounce for Neckline and Sleeves |
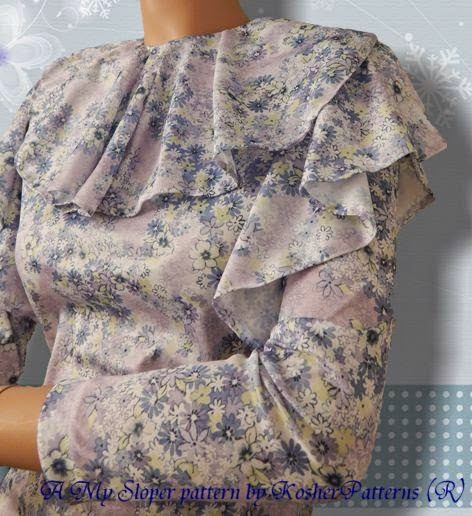
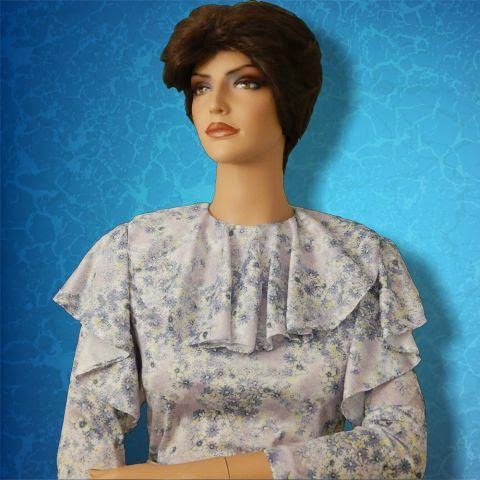
A flounce on a top or dress adds a feminine touch to the wearer. This tutorial will show you how to design flounce trims for the neckline and bodice armscye that goes over the sleeve top with My Sloper.
Specify the neck girth and use this measurement for the flounce styling.
Enter your desired general seam allowance here. The default is 10-mm. This measurement will be used in the flounce styling.
Flounce Styling
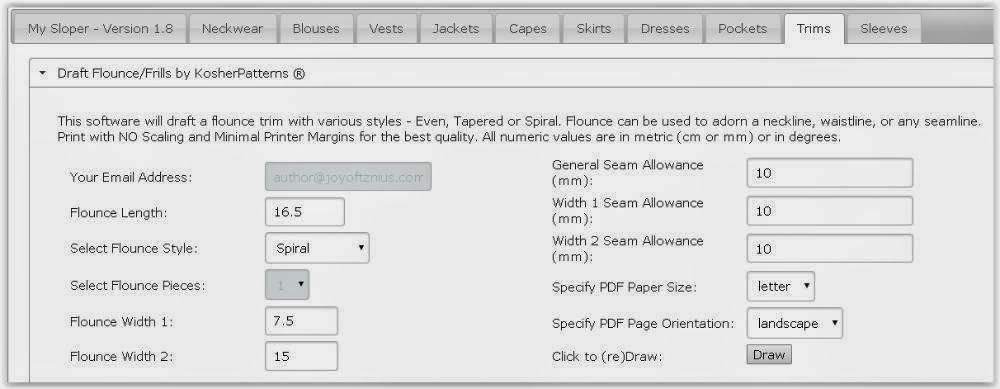
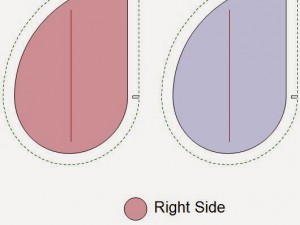
For the neckline, we use 2 identical Spiral Flounce patterns sewn together at the widest width seam line. In order for the neckline flounce to match the neckline, we need to enter half the “Neck Girth” measurement for the Flounce Length. Use only half the Neck Girth from the bodice as the Flounce Length measurement. Select Spiral for the Flounce Style. A spiral flounce has two varying widths, a shorter width at one end and a wider width at the other. Specify the shorter width as Flounce Width 1 and the longer width as Flounce Width 2. Copy the General Seam Allowance from the Bodice Styling into the General Seam Allowance in the Flounce Styling. The spiral flounce is best sewn with a narrow rolled hem and both of its width seam allowance should be as narrow as possible (default is 10 mm). Click Draw to render the pattern.
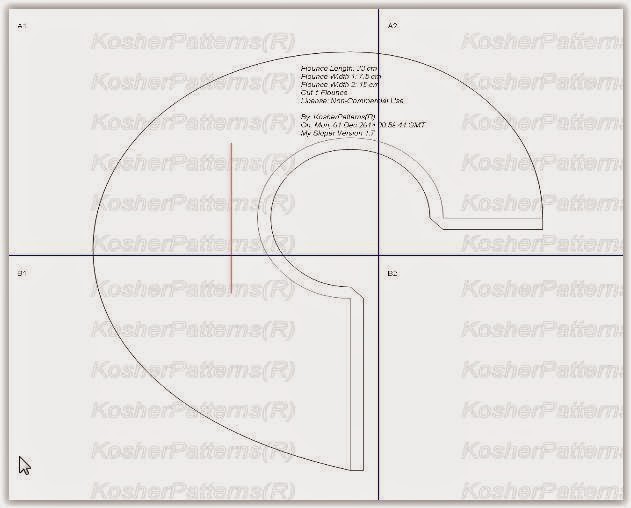
Spiral Flounce Pattern for Neckline
Armscye Measurement
 |
| Computed Armhole Girth |
To make the Sleeve Cap flounce, we need to know the actual measurement of the bodice armscye. We get this measurement after we are happy with the bodice styling and have clicked Draw to render a pattern that we are satisfied with (smooth no-ease sleeve cap that doesn’t need any further tweaking, etc.). Look for the Computed armhole girth measurement (highlighted in the above picture) for the actual armscye girth, i.e. 32-cm.
For this pattern, we want to design 2 Even-width flounces that meet at the top and bottom of each sleeve.
Sleeve Flounce Styling
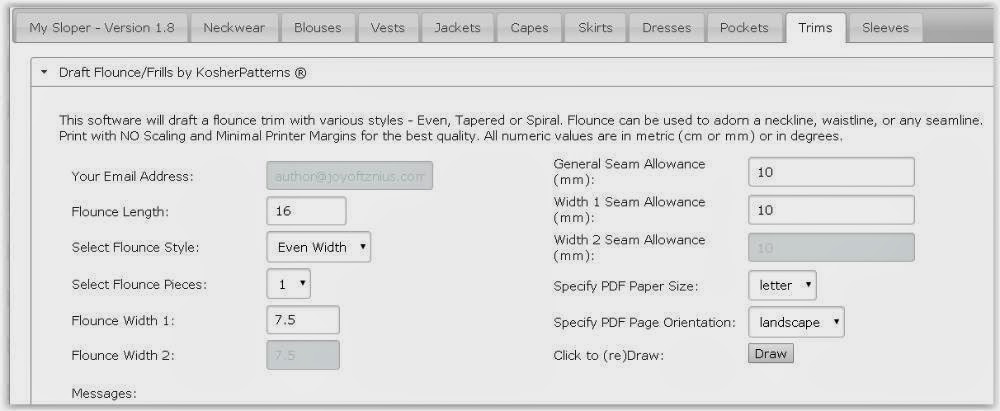
We enter half the Computed Armhole Girth (i.e. 16-cm) as the Flounce Length, choose Even Width as the Flounce Style, specify Flounce Width that we desire and leave the seam allowances as before. Then we click Draw to render the pattern. We need to cut 4 pieces of this pattern for the 2 sleeves.
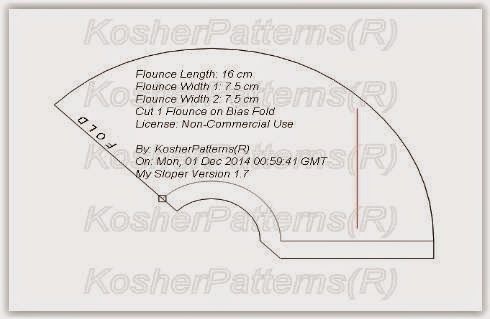 |
| Sleeve Flounce Pattern |

